

Recover Files after iPhone Stuck on Apple Logo
Like any type of mobile phones, iPhone users are also facing all kinds of issues. “iPhone stuck on Apple logo” is one situation.
iPhone stuck on Apple logo is also known as White Apple Screen of Death, which most often refers to an Apple iPod or iPhone that has locked up due to the device being severely dropped, a hardware component failing, or an attempted operating system or application upgrade that fails to successfully update. iPod, iPad or iPhone users with a White Apple Screen of Death will see either a completely blank white screen or a frozen display that shows only the Apple logo.
When this iPhone issue happens, you may try to reboot your iPhone. This is a simple way. On the other hand, the effective way is to restore your iPhone to factory settings. However, it is obviously that all data on your iPhone will be wiped once you choose to restore it to factory settings. There must be some important data on your iPhone, so you should try to find a way to recover files after iPhone stuck on Apple logo.
Recommended: 3 Ways to Recover iPhone Data after Restoring to Factory Settings.
Fortunately, if you have a piece of professional iOS data recovery software, this issue can be solved perfectly. This time, I recommend you to use MiniTool Mobile Recovery for iOS.
How to Recover Files after iPhone Stuck on Apple Logo
MiniTool Mobile Recovery for iOS is a dedicated iOS data recovery, which offers three recovery modules: “Recover from iOS Device”, “Recover from iTunes Backup File” and “Recover from iCloud Backup File”. If you choose to restore your iPhone to factory settings, all the original data will be wiped from it forever, so you are unable to use the first recovery module. In addition, the Free Edition can be used to recover some types of data, and you can download and install it on your computer to experience its functions first. (download Win version & download Mac version)
Here are the detailed steps:
Step 1. Open the software and enter its main interface. Then click “Recover from iTunes Backup File” from the top three recovery modules bar. The software will automatically detect all iTunes backup files stored on the computer, and list them on the interface.
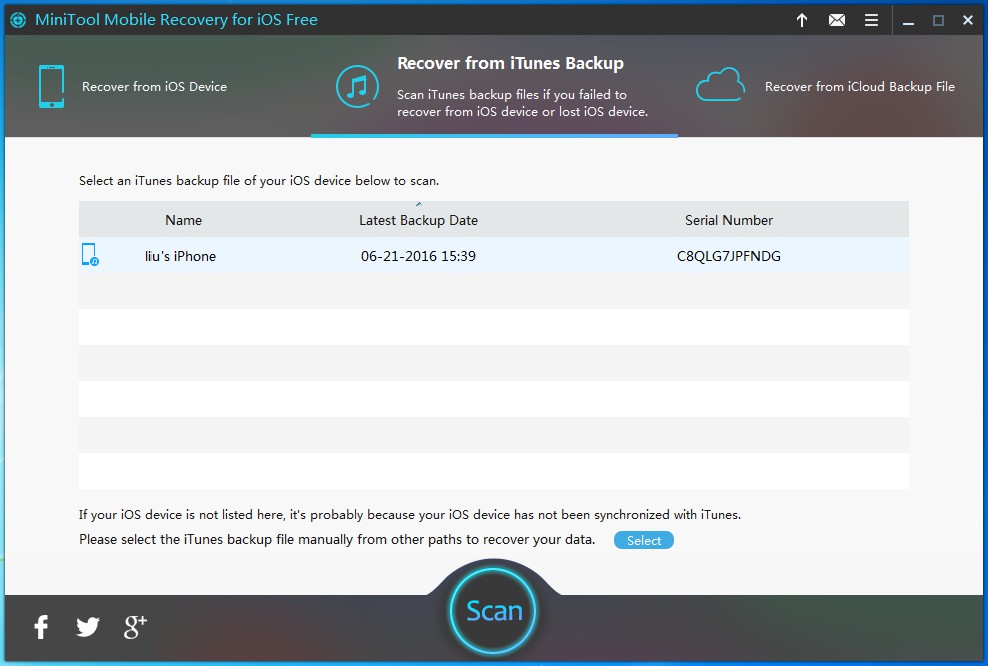
Step 2. If there are more than one iTunes backup files in the list, choose the relevant backup file by judging from the “Name”, “Latest Backup Date” and “Serial Number”. And then click “Scan” to start the scanning process.
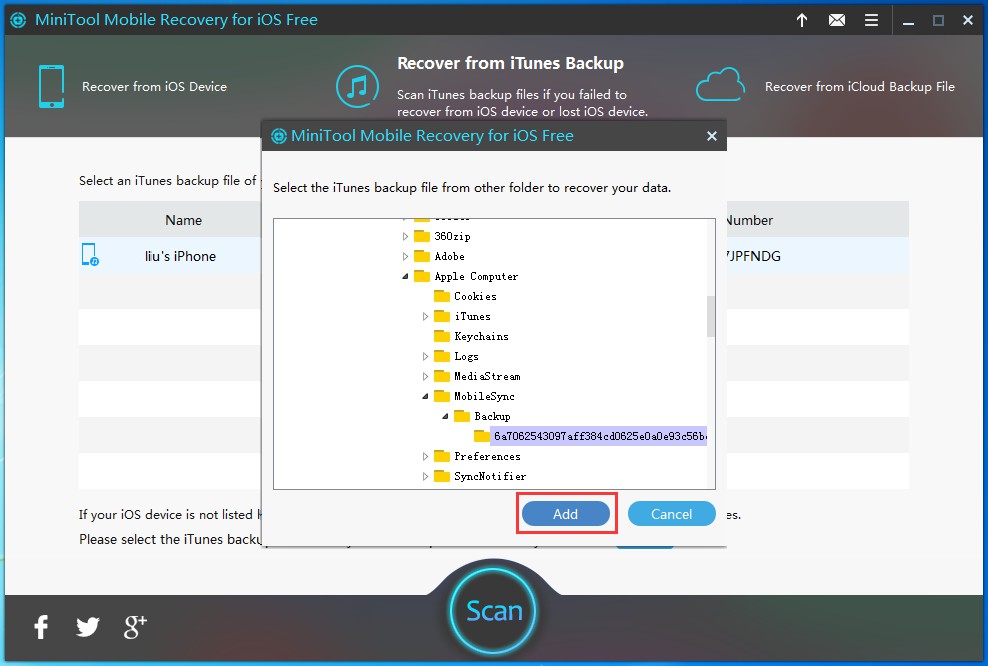
Note: If the iTunes backup files are saved into other paths, click “Select” to search them out, and then click “Add” to display them on this interface manually.
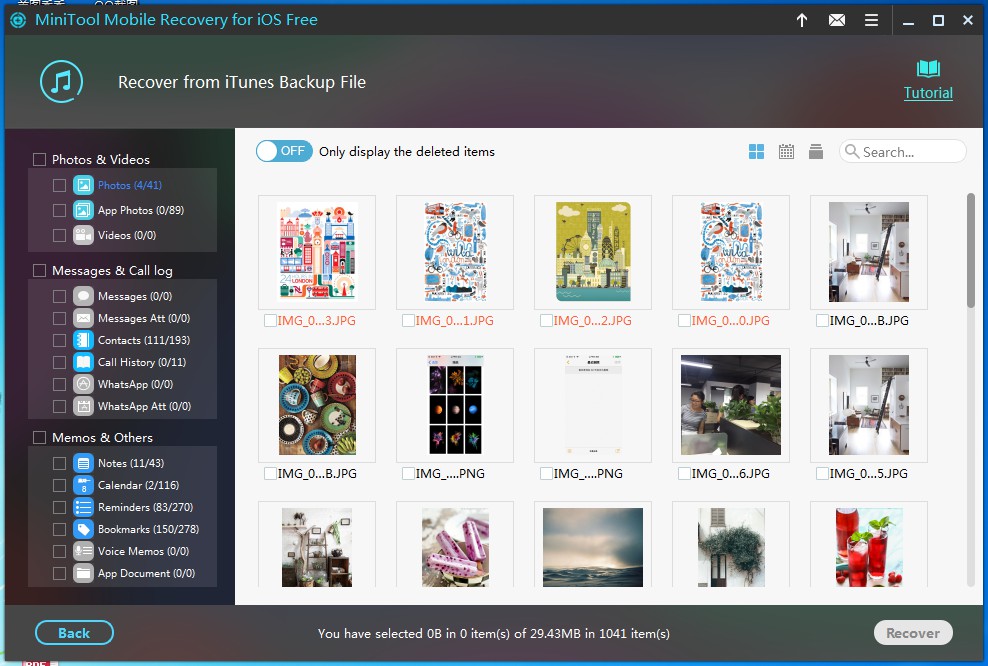
Step 3. When the scanning process is finished, all your iTunes backup files will be displayed in this interface. Select the files you want to restore and then click “Recover” on the lower right corner to continue.
Step 4. Click “Browse” to select a proper path on the computer to keep these restored files.
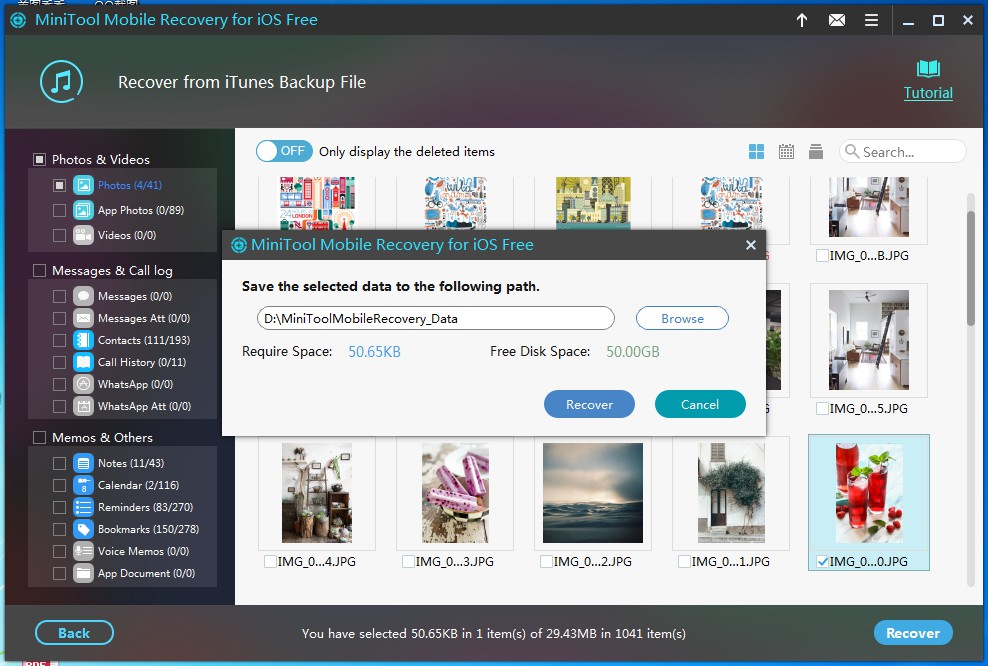
After these four steps, all your wanted files are stored to your computer, and you can use them as usual.
Besides, you should visit the functional limitations of Free Edition to learn more about it.
Of course, the third recovery module is also available, and you can visit this post to get more information: How to Fix iPhone Stuck on Apple Logo And Recover Its Data.
Next time, if you are facing this kind of issue, don’t hesitate to use this tool.
Data Recovery Software

- $69.00

- $79.00

- $69.00
- Data Recovery Software
- License Type
Windows Data Recovery Resource
Mac Data Recovery Resource
Contact us
- If you have any questions regarding online purchasing (not technical-related questions), please contact our sales representatives.
Tel: 1-800-789-8263
Fax: 1-800-510-1501